Hey Friends,
This is fourth post in microservice blog. This series is specially designed to learn microservices and various aspect of that in programming world.
Introduction -
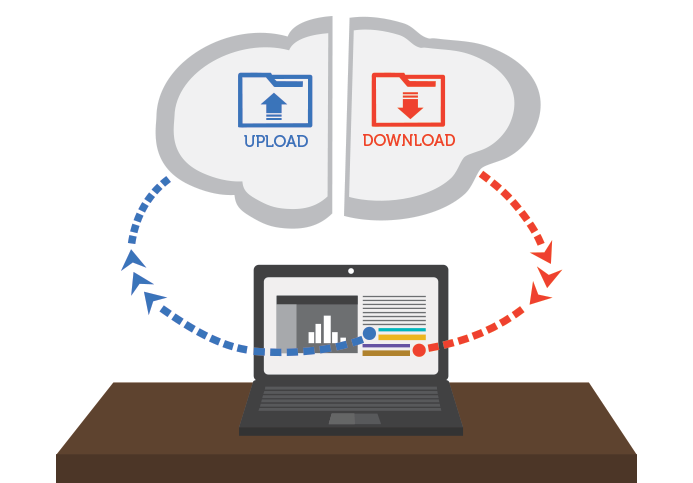
Uploading and downloading files are very common tasks for which developers need to write code in their applications.
In this article, You’ll learn how to upload and download files in a RESTful spring boot web service. Below are the various use case of upload or download.
- Upload job resume on company portals.
- Upload pic for application forms.
- Download application forms for jobs,banking system.
- Download movies, images from websites
- Download/Upload video from/on Youtube, Facebook etc.
Prerequisite -
- Part 2 - https://sarveshoza.blogspot.com/2020/07/springbootdatabaseh2.html
- Cucumber for java plugin in eclipse/Intellij IDE.
- Zeal for learning.
Here we will use our existing code base which we developed in previous posts.
We will add two more methods in our controller for upload and download.
First we will develop code and test with Advance Client or Postman. We can test download functionality with any normal browser like chrome, IE etc.

We will upload some files on server and then we will try to download same files for our testing or demo.
Lets see in implementation section, what happens in the background when we upload file or download file from any application or website.
There is hardly 15-20 lines of code which make this possible for you and today we will see those lines.
Implementation -
1. First method is upload with below implementation -
@PostMapping(value = "/todos/uploads", consumes = MediaType.MULTIPART_FORM_DATA_VALUE)
public ResponseEntity<Object> upload(@RequestParam("file") MultipartFile file) throws IOException {

    String dir = "D://temp/"; // change the dir path as per file system
    File saveFile = new File(dir+file.getOriginalFilename());
    FileOutputStream outputStream = new FileOutputStream(saveFile);
    outputStream.write(file.getBytes());
    return new ResponseEntity<>("File is uploaded successfully",HttpStatus.OK);
}
In this method, we are just creating an output stream to write uploaded files. Output stream will upload file and write same bytes from uploaded file by user from client.
Once file upload is completed, we are returning Response Entity with status ok(200).
One important thing with upload method is below -
consumes = MediaType.MULTIPART_FORM_DATA_VALUE
This will consume multipart form data value because files will be upload in parts and this will help us here.
2. Second method would be download with below implementation.
@GetMapping(value = "/todos/downloads/{filename}", produces = MediaType.APPLICATION_OCTET_STREAM_VALUE)
public ResponseEntity<Object> download(@PathVariable String filename) throws IOException {

    String dir = "D://temp/";
    File download = new File(dir+filename);

    if(!download.exists()){
        return new ResponseEntity<>("Failure, File nor found",HttpStatus.NOT_FOUND);
    }else{
        HttpHeaders headers = new HttpHeaders();
        headers.add("Content-Disposition", String.format("attachment; filename=\"%S\"",filename));
        InputStreamResource resource = new InputStreamResource(new FileInputStream(download));
        ResponseEntity<Object> responseEntity = ResponseEntity.ok().headers(headers).contentLength(download.length())
                .contentType(MediaType.valueOf(Files.probeContentType(Paths.get(download.getAbsolutePath())))).body(resource);
        return responseEntity;
    }

}
Here we will take filename from user from API URL and then check if that file is available then we will start downloading the file at client side.
InputStream will help to create link between server and client till the time full file is downloaded.
If requested file is not there on server dir. then we will return code "Not Found".
if you notice two things are important in case of download method.
- Populate headers to distinguish for download functionality
headers.add("Content-Disposition", String.format("attachment; filename=\"%S\"",filename));
- Return input streamresource in body of responseentity
InputStreamResource resource = new InputStreamResource(new FileInputStream(download));
With these two new methods, our code is ready for demo. This is simple basic example to understand background activities when we upload or download files from servers/websites.
Source Code Available on GITHUB.
Testing/Demo-
Open Advance Rest Client.
First, lets check server upload Dir. "D:\temp"
This is configured in method, you can change also. Initially it is blank and there is no file.
Lets upload first file.
"http://localhost:8081/todos/uploads"
File is uploaded successfully and now if you in upload directory then you will see one file there.This is same file which we just uploaded.
Download Demo.
"http://localhost:8081/todos/downloads/cover.png".
/downloads/{filename}
To download test, just enter above URL in browser or postman. Advance rest client will display in bytes format which is not readable so we will use browser chrome to test.
We will see file will download like this when we open above url.
Upcoming Posts -
We will have more fun and learning in upcoming weeks. Bookmark this space in your favourites.
1. Spring boot security starter
2. Spring batch
You can also suggest your favourite topics in comments section or on Facebook page. We will try to start exploring on those topic. You can also suggest points to make blogs more effective.
To connect more and discuss technology, Please visit and like the page. We will list all the posts there and provide updates about upcoming events/posts.

No comments:
Post a Comment